
If you’ve been reviewing security camera footage and noticed mysterious glowing orbs drifting across the frame, you’re not alone, and you’re probably not haunted. Moving orbs on security camera recordings are one of the most common issues homeowners face, often triggering false motion alerts and causing unnecessary concern. These floating spheres can appear as translucent balls, sometimes with a faint halo effect, and they tend to show up more frequently on night vision footage. The good news? Most orbs are explainable and fixable. Understanding what causes them helps you improve your camera system’s reliability and reduce alert fatigue.
Table of Contents
ToggleKey Takeaways
- Moving orbs on security camera footage are typically caused by dust, insects, moisture, or light reflections—not equipment failure or paranormal activity.
- Clean your camera lens regularly with a microfiber cloth and consider installing a lens hood or protective dome to eliminate most dust and condensation-related orbs.
- Improve camera positioning by moving it to a location with better airflow and sunlight, and reduce nearby light sources that may create reflective interference.
- Adjust your camera’s IR brightness and sensitivity settings to reduce glare from moisture droplets while maintaining effective night vision.
- Check for spider webs weekly and use silica gel packets inside camera housings to absorb excess moisture in humid climates.
- Start with simple fixes like lens cleaning and repositioning before investing in new equipment or upgrading to cameras with hydrophobic lens coatings.
What Are Moving Orbs on Security Camera Footage?
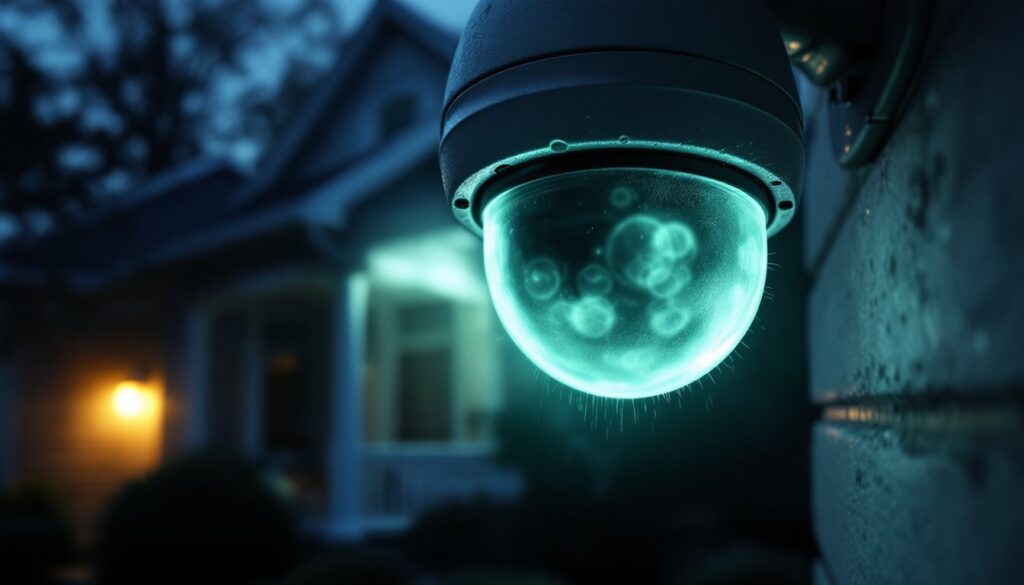
Moving orbs appear as luminous, circular anomalies in video footage, typically most visible in infrared or night mode. They often look like floating spheres with a soft glow, sometimes translucent or hazy around the edges. These aren’t optical illusions or sensor errors in the traditional sense: they’re real reflections or particles captured by your camera’s lens and sensor.
The key thing to understand is that orbs move differently than typical objects or people. They drift slowly and erratically across the frame, sometimes hovering in one spot before drifting away. They rarely cast shadows and don’t trigger motion alerts consistently, or they trigger them in ways that don’t match any visible intruder. This inconsistency is actually a clue: it means something is happening very close to the lens or in the camera’s immediate field of view, rather than deeper in the scene.
Common Causes of Orbs in Your Security Camera
Dust, Insects, and Debris
This is the most frequent culprit. Dust particles, spider webs, pollen, or tiny insects floating directly in front of the camera lens get magnified by the optics and appear as large, glowing orbs on screen. When the infrared (IR) lights activate at night, they illuminate these particles, making them glow intensely. A single grain of dust near the lens can look like a ghostly sphere drifting across your video.
Insects are particularly problematic. Small flying insects, gnats, mosquitoes, or even moths, are attracted to the camera’s IR lights at night. As they move, they appear as orbs that seem to float independently. The closer they are to the lens, the larger and more prominent they appear. If you see orbs most frequently on night vision footage and less in daylight, this is likely your answer.
Moisture and Condensation on the Lens
Moisture buildup on the camera lens is another major cause. Dew, humidity, or condensation can form a thin film across the lens surface. When infrared light bounces off these water droplets or the condensation layer itself, it creates bright, diffuse orbs in the footage. The effect is worse in climates with high humidity, near water sources, or in shaded areas where condensation forms and doesn’t dry quickly.
Temperature fluctuations make this worse. If your camera is mounted in a location with direct sun exposure, the lens heats up during the day and cools rapidly at night. This temperature swing creates condensation, the optical equivalent of a frosted window. You’ll notice the orbs appear mainly during early morning or late evening, when temperature differences are greatest.
Lighting Reflections and IR Interference
LED lights, porch lights, or even reflections from nearby windows can bounce back into the camera lens, especially when the camera’s IR lights are active. Reflective surfaces near the camera, glass, metal fixtures, or light-colored walls, can create bright circular artifacts that look like orbs. The phenomenon intensifies when the IR lights hit a reflective object at the right angle, bouncing the light directly back into the lens and creating a concentrated glow.
IR interference from neighboring cameras or IR-emitting devices can also produce similar effects. If you have multiple cameras close together, or if a neighbor’s camera is pointed near yours, cross-talk between IR sources sometimes creates unexplained bright spots. This is less common but worth considering in multi-camera setups.
How to Reduce Orbs and Improve Camera Clarity
Clean the lens regularly. This is your first and most effective step. Use a soft, microfiber cloth, the same type you’d use for eyeglasses or camera lenses, and gently wipe the camera lens in circular motions. Don’t use paper towels or tissues, which can scratch the lens. For stubborn residue, lightly dampen the cloth with distilled water (tap water leaves mineral deposits). A clean lens eliminates most dust and moisture-related orbs immediately.
Install a lens hood or camera dome cover. A lens hood directs water away and blocks insects from directly accessing the lens. Some weatherproof camera housings come with protective domes that sit in front of the lens. This adds a physical barrier between the camera optics and the environment. It won’t eliminate all orbs, but it dramatically reduces debris and condensation issues. Product reviews on CNET and similar sites often compare camera housings and protective accessories in detail.
Improve camera positioning and ventilation. If your camera is mounted in a shaded, humid spot, reposition it to a location with better airflow and sunlight exposure during the day. Mounting the camera under an eave or roof overhang (without blocking the field of view) helps shed water and reduces dew formation. Ensure there’s at least a few inches of clearance around the camera so air can circulate freely.
Reduce or reposition nearby light sources. If an external light source is creating reflections, try angling it away from the camera or swapping it for a fixture with a more directional beam. For porch lights or decorative lighting, position them so they don’t shine directly at the camera. If IR interference is the issue, space cameras at least 3 feet apart and angle them so their IR lights don’t overlap.
Adjust camera settings. Many security cameras let you tweak IR brightness and sensitivity. Lowering the IR intensity slightly can reduce glare from moisture droplets while still maintaining night vision for the main scene. Check your camera’s manual or software app for these settings, they’re usually under “night mode” or “IR settings.” Digital Trends offers comprehensive reviews of camera settings and optimization techniques.
Consider a camera with better lens coating or design. If you’re shopping for a new system, look for cameras with hydrophobic lens coatings or desiccant drying capsules built into the housing. These are designed to shed water and reduce condensation. Premium models often feature better glass optics and protective design elements that minimize these issues. Comparing models on Tom’s Guide can help you identify cameras known for clear footage in challenging conditions.
Check for spider webs and nests. Spiders love camera housings because the IR lights attract prey. Inspect the area around your camera weekly and gently brush away any webs or debris. A small squirt of spider-repellent or a light coating of petroleum jelly around the mounting bracket (not on the lens) can discourage them from settling there.
Use silica gel packets. If condensation is persistent, place small silica gel drying packets inside weatherproof camera housings (if they have an accessible compartment). These absorb excess moisture. Replace them when saturated, typically every few weeks in humid climates.
Conclusion
Moving orbs on security camera footage are frustrating but solvable. In most cases, they’re caused by dust, insects, or moisture, not equipment failure or paranormal activity. Start with the simplest fixes: clean your lens, improve camera positioning, and reduce nearby reflections. These steps eliminate the vast majority of orb issues without spending extra money. If problems persist, invest in protective camera housings, adjust your IR settings, or upgrade to a camera model designed to handle humid or dusty environments. Clean, clear footage makes your security system actually useful.