
Moving a kitchen island is one of those projects that looks straightforward until you start pulling it away from the wall. A kitchen island anchors your entire work zone, it’s where prep happens, where seating gathers, and where appliances plug in. Before you tackle this task, you need a realistic plan. This guide walks you through assessing your setup, gathering the right tools, safely disconnecting utilities, and repositioning your island without cracking tile, damaging appliances, or worse, creating an electrical hazard. Whether you’re reconfiguring your layout for better flow or making room for a larger footprint, moving a kitchen island the right way means fewer callbacks and a safer kitchen.
Table of Contents
ToggleKey Takeaways
- Before moving a kitchen island, thoroughly assess your setup by checking whether it’s hardwired to gas or electrical lines, measuring dimensions, identifying obstructions, and confirming floor type to plan the safest approach.
- Always shut off all utilities—gas at the valve, electrical at the breaker, and water if applicable—before the island moves, using a gas detector and voltage tester to confirm disconnection rather than assuming safety.
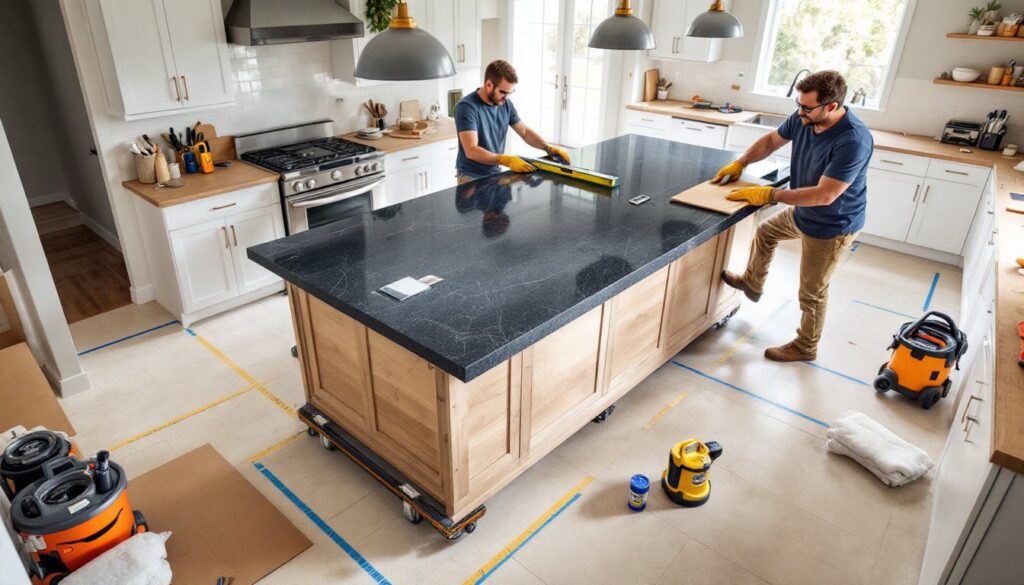
- Moving a kitchen island requires at least two people, a heavy-duty furniture dolly rated for 1,000+ pounds, floor protection materials, and safety gear including work gloves, safety glasses, and steel-toed boots.
- Level your kitchen island from all directions at its new location and use painter’s tape to mark the final position on the floor, preventing drawer misalignment and simplifying future adjustments if needed.
- Reconnect utilities in reverse order only after the island is positioned and leveled, and have a licensed electrician handle any hardwired electrical circuits to ensure safety and code compliance.
- Never rush the moving process or skip safety tests—moving a kitchen island deliberately, testing utilities after reconnection, and respecting every step prevents injury, electrical hazards, and gas leaks.
Assess Your Kitchen Island Setup
Start by understanding what you’re actually moving. Take time to look under, around, and behind your island. Does it rest on a fixed base or sit on a dolly? Check whether it’s hardwired (gas line for a cooktop, 240V circuit for an induction range) or simply plugged into an outlet. Pull out the island slightly, you’ll quickly see if it’s bolted to the floor or free-standing.
Take detailed measurements of your current space and your target location. Measure the island’s width, depth, and height, plus the thickness of any countertop overhang (usually 12–15 inches on each side). Note the floor type: tile, hardwood, or vinyl will require different protection during the move. If your island has a gas line, identify where the shut-off valve is located. If it’s wired, locate the breaker controlling its circuits.
Check your target location for obstructions, low-hanging cabinets, pendant lights, or ductwork can become real problems once the island moves. Measure ceiling height and clear width to the new spot. If your island has seating overhang, ensure there’s enough leg room at the new location.
Gather Your Tools and Materials
This project requires some heavy lifting and precision. Collect a furniture dolly (rated for at least 1,000 lbs, islands are heavier than they look), shims, a level, a tape measure, and painter’s tape to mark reference lines on the floor. Wear work gloves, safety glasses, and steel-toed boots. If you’re disconnecting gas or water, add an adjustable wrench and a gas detector (do not skip this).
For floor protection, grab cardboard, plywood sheets, or moving blankets to protect hardwood or tile from dolly wheels and dropped items. Have a shop vac and broom handy for cleanup. If your island requires electrical work beyond unplugging an outlet, you’ll need a licensed electrician, don’t cut corners here.
For a kitchen island move, most homeowners benefit from a second person. Honestly, moving anything heavier than 300 pounds solo invites injury. A helper keeps the island stable, watches for obstacles, and prevents back strain. Budget for professional movers if your island is over 500 pounds or contains multiple hardwired appliances.
Disconnect Utilities and Prepare for Moving
Before the island budges an inch, shut off all utilities. If the island has a gas cooktop or range, turn off the gas supply at the shut-off valve (located under or behind the island). Use an adjustable wrench to disconnect the flexible gas line at the fitting. Plug the gas outlet with a cap to prevent contamination. Wait 5 minutes and use a gas detector to confirm no gas is leaking into your kitchen.
For electrical connections, flip the breaker serving the island to the OFF position and verify power is dead with a non-contact voltage tester. If the island is hardwired (not simply plugged in), turn off the breaker and contact a licensed electrician to safely disconnect and reconnect the circuit at the new location. Never assume you can unscrew a hardwired connection yourself, electrical codes exist for fire safety reasons.
If water or drain lines are tied to the island (rare but possible), turn off the water valve feeding the island and drain the lines completely. Disconnect at the easiest fitting and cap the ends. Clear the island of clutter: remove bar stools, appliances, and any loose items. Wrap fragile elements (glass, stainless steel trim) in moving blankets. Lay cardboard or plywood on the floor to protect it as the dolly rolls past.
Move the Island to Its New Location
Position the furniture dolly beneath the island’s base, centering the weight distribution. One person stabilizes the island while the other positions the dolly. Tilt the island slightly (2–3 inches) using shims or a pry bar to slip the dolly underneath. Do this methodically, rushing here causes scratches, dropped corners, and pinched fingers.
With the island on the dolly, check that all four wheels are in full contact with the floor. Use shims to adjust if needed. Clear the path to the new location. Walk the dolly slowly and deliberately: rolling too fast makes the island wobble and risks tipping. Have your helper steady the island from the side as you roll. Stop every few feet to check alignment and adjust for door frames, corners, or tight spaces.
Once the island reaches its new location, position it carefully and level it from all directions using a torpedo level or laser level. Shim under the base feet as needed, a crooked island will cause drawer and door misalignment over time. Use painter’s tape to mark the final position on the floor, making it easier to move the island back if plumbing or electrical adjustments take longer than expected. This simple step saves hours of repositioning later.
Reconnect Utilities and Finalize Setup
Once the island is positioned and leveled, reconnect utilities in reverse order. Start with gas if applicable. Remove the outlet cap, carefully reattach the flexible gas line to the fitting, and tighten with an adjustable wrench. Let the fitting sit for 5 minutes, then use a gas detector to check for leaks. Do not skip this test, a slow gas leak is invisible and dangerous.
For electrical connections, have a licensed electrician reconnect hardwired circuits if that applies. For standard outlet connections, flip the breaker back to the ON position and test the outlets with a voltage tester before plugging in appliances. Reconnect water or drain lines if the island includes a sink or ice maker, checking all fittings for leaks by running water briefly and examining beneath the connections.
Adjust cabinet doors and drawer alignment if needed, the move sometimes shifts things slightly. Check that bar stools fit comfortably at the new overhang distance and that pendant lights (if hung above the island) still provide even illumination. Step back and visually inspect the new layout. If traffic flow feels awkward, you still have time to adjust before permanently securing the island. Once everything functions correctly and the layout feels right, clean up dust, remove protective floor coverings, and reinstall any décor or accessories.
Common Mistakes to Avoid
Skipping the level check is the most frequent mistake. An out-of-level island causes drawers to drift, doors to swing open on their own, and water to pool on the countertop if you have a sink. Spend the extra 5 minutes confirming level from both directions.
Moving a hardwired island without shutting off the breaker and testing for power is dangerous and possibly code-violating. Similarly, disconnecting gas without confirming the line is truly off invites a leak or worse. Use your tools (voltage tester, gas detector) every single time, don’t eyeball it.
Another pitfall is underestimating the island’s weight and attempting the move solo. Islands often weigh 400–800 pounds fully loaded. Moving one person with inadequate equipment results in back injury or dropped items. A second set of hands and a proper dolly are non-negotiable.
Finally, rushing the reconnection step creates safety hazards. A loose gas fitting, an electrical circuit breaker left in the wrong position, or a water line that’s not fully seated will haunt you weeks later. Reconnect, test, and wait. There’s no timer on comfort and safety.
Conclusion
Moving a kitchen island requires patience, the right tools, and respect for utilities. Plan your move thoroughly, disconnect utilities safely, relocate deliberately, and reconnect with caution. A modular kitchen design gives you flexibility to reconfigure your layout as your needs evolve. Take your time, double-check every step, and your kitchen will work better in its new arrangement without any safety compromises.