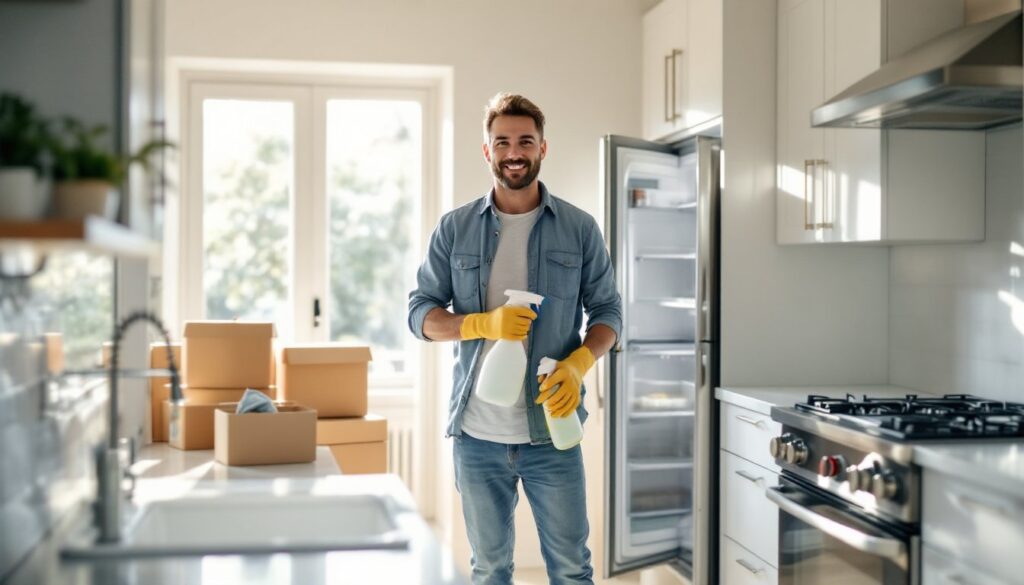

Moving into a new home is exciting, until you open the front door and realize the previous owners left behind years of dust, grime, and mysterious stains. Deep cleaning your new house before unpacking a single box isn’t just about making it look nice: it’s about creating a fresh, hygienic foundation for your family. You’ll want to start with a clean slate rather than living on top of old dirt and allergens. This room-by-room guide walks you through the process systematically, giving you a realistic timeline and the tools you actually need. Done right, your new home will feel genuinely yours from day one.
Table of Contents
ToggleKey Takeaways
- Deep cleaning a house before moving in eliminates allergens, bacteria, and odors from previous occupants, creating a hygienic foundation for your family and preventing respiratory issues.
- Start with the kitchen first, as it accumulates the most grease and bacteria, then move to bathrooms, bedrooms, and living areas in a systematic top-to-bottom approach.
- You only need basic, affordable supplies like all-purpose cleaner, microfiber cloths, and a vacuum—expect to spend $50–$100 if buying everything new.
- Focus on high-touch surfaces like faucets, cabinet hardware, and light switches, and don’t skip often-missed areas like ceiling fans, baseboards, exhaust fan filters, and under sinks.
- Deep cleaning before unpacking takes 2–4 days but allows you to inspect for hidden maintenance issues early and spot mold or pest problems that warrant professional attention.
- Use a damp microfiber mop on hardwood floors and consider professional carpet cleaning to remove allergens that household vacuums cannot reach.
Why Deep Cleaning Your New Home Matters Before Unpacking
Most homeowners skip this step and regret it within weeks. Dust settles into every corner, vents pump old air throughout the house, and residue from the previous tenants lingers on surfaces you’ll touch every day. Cleaning before you move furniture and boxes in is infinitely easier than trying to clean around thousands of items.
Beyond convenience, there’s a health angle. Previous occupants may have had pets, smoked indoors, or left behind mold spores in the bathrooms. You won’t see these problems until you’re breathing them in daily. A thorough deep clean eliminates allergens, bacteria, and odors that could affect your respiratory system or trigger existing allergies. If the home sits vacant for months before your purchase, dust mites and mold have already taken hold.
This is also your chance to inspect hidden areas, behind appliances, inside cabinet doors, under sinks, without the pressure of unpacking. You might spot maintenance issues early (water stains, pest droppings, loose trim) that warrant a conversation with your realtor or inspector if you haven’t closed yet. Think of deep cleaning as a final walkthrough with intention.
Essential Supplies And Tools You’ll Need
You don’t need a truck full of specialty products. Stick to proven basics and avoid the marketing hype.
Cleaning Solutions:
• All-purpose cleaner (vinegar-and-water works for 80% of tasks: avoid for hardwood floors or stone)
• Bathroom cleaner with mild acid (diluted bleach solution or commercial glass/tile cleaner)
• Degreaser for kitchens (cuts through built-up grime on stovetops and range hoods)
• Disinfectant (spray or wipes for high-touch surfaces)
• Mild dish soap
• Baking soda (a mild abrasive: safe on most surfaces)
Tools:
• Microfiber cloths (reusable, don’t streak, outlast paper towels)
• Mop and bucket (a microfiber mop picks up dust more effectively than cotton)
• Broom and dustpan
• Vacuum with extension hose (and spare bags or a clean filter)
• Scrub brushes (one soft for tiles, one stiff for grout)
• Squeegee for windows and shower glass
• Rubber gloves (protects hands and improves grip when wet)
• Safety glasses and a dust mask if you’re dealing with heavy dust or old vents
• Ladder (for ceiling fans, light fixtures, and high shelves)
Optional but time-saving:
• Pressure washer (rent one for exterior siding, decks, or patios if needed)
• Drill-mounted scrub brush (speeds up grout and tile work)
• Steam cleaner (useful for disinfecting without harsh chemicals, though not mandatory)
Budget about $50–$100 for supplies if buying everything new. Most people already own half of this.
Tackle The Kitchen First
The kitchen accumulates the most grease, food residue, and bacteria. Start here so you have a clean, functional base while working through the rest of the house.
Step-by-step kitchen cleaning:
- Remove everything from cabinets and drawers. Yes, everything. This is when you’ll spot crumbs, grease splatter, or shelf paper left behind. Wipe down the interior surfaces with a damp microfiber cloth and dry thoroughly.
- Clean cabinet doors and hardware. Grease loves cabinet fronts. Use a degreaser spray and a soft cloth: for stubborn buildup, let it sit for a few minutes before wiping.
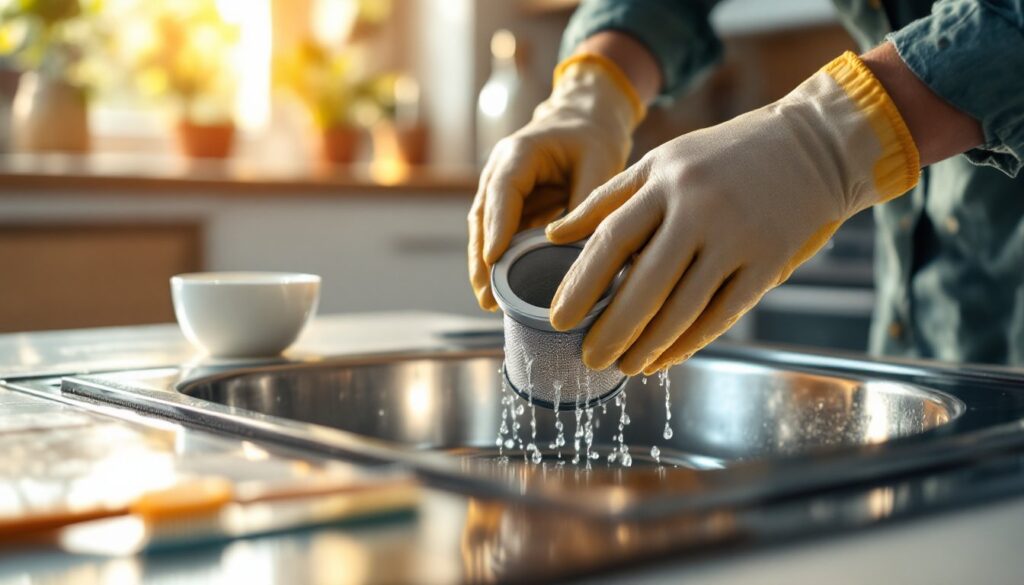
- Degrease and sanitize the stovetop, range hood, and backsplash. The range hood filter is often filthy, soak it in hot, soapy water for 15 minutes, scrub, rinse, and dry. Burner grates can go in the oven on high heat for 15 minutes, then cool and wipe.
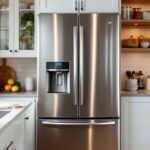
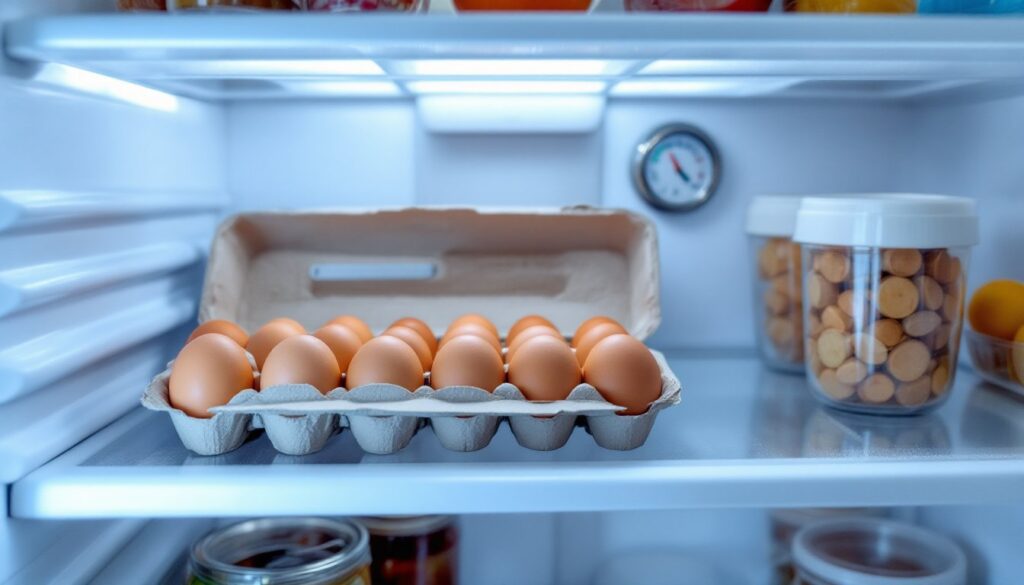
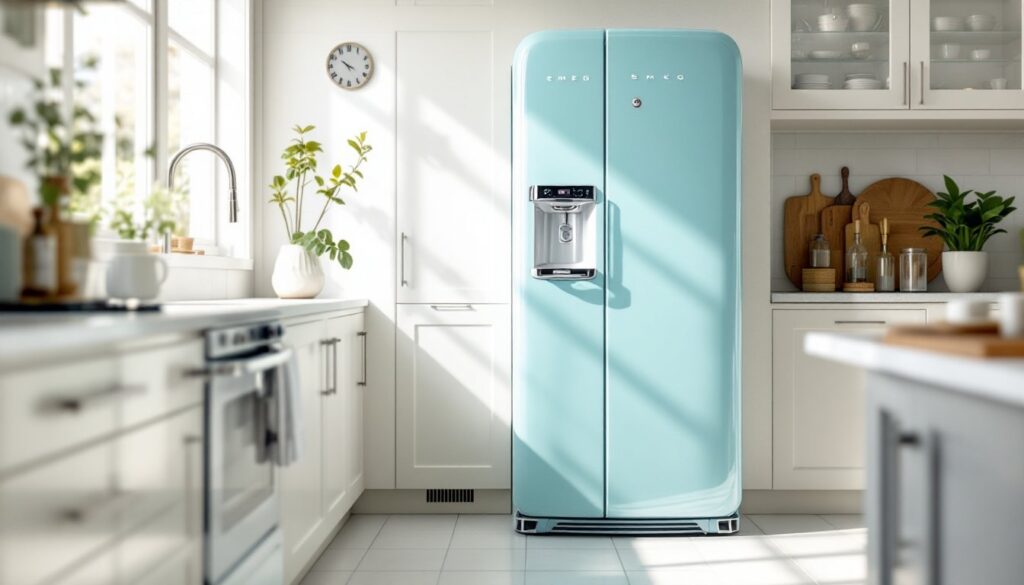
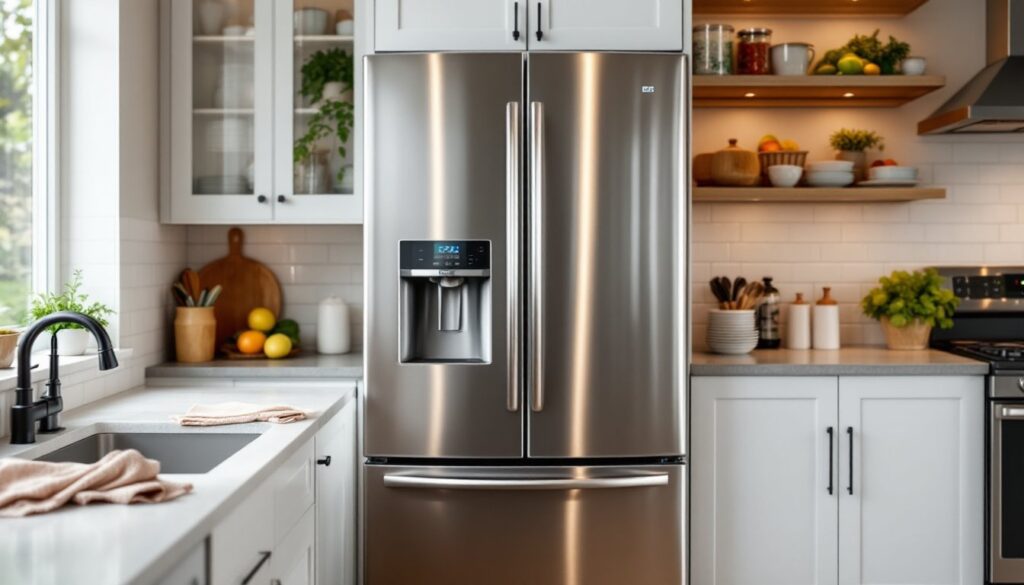
- Clean inside the refrigerator and oven. Even if the appliance is newer, previous use leaves residue. Wipe shelves, wash drawers, and check gaskets for mold or stuck food.
- Wipe countertops, sink, and faucet. Disinfect the sink basin and faucet handles thoroughly, they’re high-touch surfaces. Dry everything to prevent water spots.
- Sweep and mop the floor last. Crumbs fall during the above steps: mopping last captures everything.
Appliances And Cabinets
Don’t assume appliances are clean just because they’re still there. Wipe the exterior of the refrigerator, dishwasher, and microwave with an appropriate cleaner. If the dishwasher runs, run it empty with a cup of white vinegar in the bottom to flush out residue. Check the disposal for stuck food or foreign objects by running cold water and vinegar through it.
Cabinet interiors trap grease vapors and dust. Wipe shelves with a solution of one part vinegar to two parts water, or use an all-purpose cleaner. Dry immediately to prevent warping or swelling. If there’s shelf paper, decide whether to replace it for sanitation and aesthetics. The small investment pays off in a fresh, organized space when you put your dishes away.
Bathrooms: Sanitizing And Scrubbing
Bathrooms are second only to kitchens in terms of bacteria and mold growth. Moisture, soap residue, and time create a perfect storm for buildup.
Step-by-step bathroom cleaning:
- Empty cabinets and shelves. Wipe down interiors, paying special attention to corners where moisture collects.
- Remove and clean exhaust fan covers and filters. A clogged vent won’t pull moisture, which leads to mold. Soak covers in hot soapy water, scrub, and rinse.
- Scrub the toilet bowl and exterior. Use a toilet brush with a disinfecting cleaner, working under the rim where bacteria hide. Wipe the tank and base with a disinfectant cloth.
- Clean shower or tub walls and floor. Baked-on soap, mildew, and hard water deposits require a mix of effort and chemistry. Spray a bathroom cleaner (bleach-based works here but ensure ventilation), let it sit, then scrub with a brush. For stubborn tile grout, a paste of baking soda and water works without harming grout lines. Rinse thoroughly.
- Clean mirrors and windows. Squeegee after every spray to avoid streaks, or use a microfiber cloth.
- Wipe fixtures, faucets, and handles. These high-touch surfaces harbor bacteria. Disinfect thoroughly.
- Mop the floor last. Sweep first, then mop with a mild disinfectant.
Check under the sink for mold, water damage, or leaks. Wipe dry and leave the cabinet door open briefly to air out. If you spot active mold (dark, fuzzy patches), that’s beyond routine cleaning, consult a professional mold remediation service. Most inspection reports flag this anyway, but addressing it before moving furniture is smart.
Bedrooms And Living Areas
Bedrooms and living spaces accumulate dust and require less intense sanitizing than kitchens and baths, but don’t skip them.
Systematic approach:
- Dust ceiling corners and vents. Use a cloth on a broom handle or a duster with an extendable handle. Dust falls downward, so work top to bottom in each room.
- Wipe light fixtures, ceiling fans, and smoke detectors. Ceiling fans are notorious dust collectors. Turn off power at the breaker, wipe each blade with a pillowcase to contain the dust, and let it fall into the pillowcase rather than the floor.
- Vacuum vents and baseboards. Use an extension hose attachment. Baseboards trap pet hair and dust, wipe them down with a damp cloth after vacuuming.
- Wash windows and window sills. Previous residents may not have cleaned these in years. Sill accumulation includes dead insects, mold, and pollen. Wipe with a damp cloth, squeegee glass, and dry the sill thoroughly.
- Clean closet shelves and rods. Wipe shelf interiors and the rod where dust settles. This is where your clothes will hang, so sanitation matters.
- Vacuum or mop the floor last. After all the above, dust has settled, capture it with a final pass.
For hardwood floors, a damp microfiber mop works better than a bucket of water. Excess moisture damages wood. If floors are dirty or sticky, a slightly damp mop with a wood-specific cleaner (or just water) is safer than standard all-purpose cleaners. For carpeted areas before professional cleaning, vacuum thoroughly with a multi-pass vacuum (go over the same spot twice) to lift any embedded dust or debris. Professional carpet cleaning is often worth the cost for a new-to-you home: it removes allergens that a consumer vacuum can’t reach.
Conclusion
Deep cleaning your new home before moving in takes two to four days depending on size and prior condition, but it sets the tone for your entire tenure there. You’re creating a hygiene baseline, catching hidden maintenance issues, and starting fresh on your terms. When you unpack that first box into a genuinely clean kitchen or place your pillow in a sanitized bedroom, the effort pays off immediately. For detailed planning around move day itself, consult moving day planning tips to coordinate logistics alongside your cleaning timeline. Your future self will thank you.